Showing posts with label nichido. Show all posts

Saturday, August 10, 2013

Makeup Tutorial: Flawless Foundation (products used less than Php 300 each)

Hello Everyone,

It has been a long time since my last blog. I am cleaning my make up traincase and thought of this affordable make up tutorial. I did several make up tutorials and noticed that I missed the essential one-- flawless face.

Yes! Achieving a flawless canvass should not be expensive especially when you are using make up everyday.

Calling all the working girls, here is a great tutorial for yah!!

Make up used in this tutorial costs less than Php 300 only:

1. Quick Fx Mattifying Primer: Php 89 available at Watson's
2. Nichido Matte Foundation: Php 289 available at all Nichido Make up counters
3. Sophie Martin Concealer: Php 220 you may contact anyone with Sophie Martin membership
4. L.A. Color Loose Powder: Php 249 available at all L.A. Colors make up counter


1. After toning and applying moisturizer on your face, apply a pea-sized amount of QuickFX Primer.

Apply it even on you face, you will feel the silkiness of your skin after applying. Concentrate on the part of your skin where you tend to be oily. In my case, I concentrate in my T-Zone area.

2. After applying your primer, you have the option of applying your concealer first then foundation. But for me, I prefer to apply my foundation first, as I would like to measure the coverage I want.


I look funny right? But as my best practice, I measure where I want more coverage. Blend the foundation in an outward motion using your foundation brush. You may also your hands in blending but make sure it is clean. Normally, if I will use a foundation brush, I still blend it with my hand so it is smooth and well blended. Apply some on your neck. :)

3. Once everything is applied, identify which part of your face needs to be concealed. Normally, it would be your undereye area, sides of the nose, sides of the lips, pimple scars, cupid's bow etc.


Blend the concealer using your ring finger. The natural heat of the finger will melt the product and blending will be easy. This method will prevent your make up from caking.

4. Seal it with a loose powder. RULE OF THUMB: Apply liquid, cream first then seal it with a powder. This will prolong your make up and prevent your make up from caking. Thus blending will be easier.


I seal first with a powder the areas where I applied concealer. The consistency of a concealer is much more dense and creamy than a foundation. The product itself is somehow oily so you need to lock it with a powder.

** Optional: If you will apply eyeshadow, you may also apply eyeshadow primer after concealing. Eyeshadow primer will make you eye-make up last longer and will prevent from creasing.

Dust your face with the loose powder using a powder brush.


Noticed how my face turns to be a smooth and flawless canvass. Now, you may go ahead and do your eyebrows, apply eyeliner, mascara, blush and some light contouring, lipstick and skip the eyeshadow part. These make up routine is so easy and so fresh-looking. On a lazy day, this is my make up routine. I save so much time.

Tadaahh! here are some snippets of the finished make up look.


Take care everyone and stay beautiful,
 xoxo, Beautylash01

Facebook: Beautylash01 by April Vida
 

Sunday, June 23, 2013

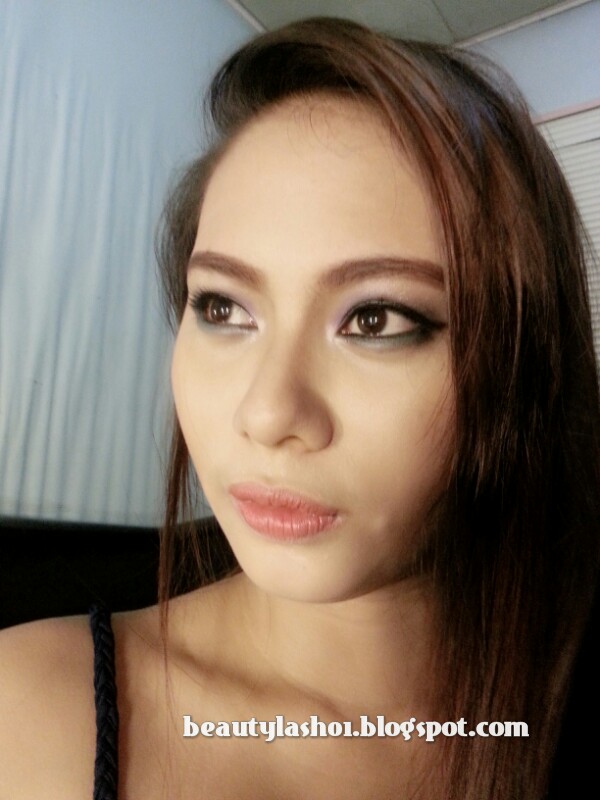
Behind the Scene: Plum and Aqua Smokey Eyes

Hello everyone!

Almost MIA for the week. As a make up artist, it is really a fulfilling experience when you will do your relative's make up.

I am happy to share with you lovies some behind the scenes photos of my beautiful niece-- Roni.

Even without make up, she is absolutely stunning.


Products used:
Face: Maybelline Pore Eraser, Nichido Foundation, Sophie Martin concealer, ELF yellow corrector, BH cosmetics powder (contour palette).
Brows: Careline eyebrow pencil in brown
Eyes: MAC Painterly paint pot, Nichido Pencil in purple (base), Body shop baked eyeshadow in violet, Naked Palette 1 (blackest shade) to deepen the eyes, Nichido pencil in Aqua (lower lashline), Maybeline mascara, Nichido Pencil in Onyx.
Contouring: Benefit hoola bronzer, ELF Luminance 
Lips: Sophie Martin Lip stick in Natural shade and Nichido Lip liner in Rosette

To set the make up: I sprayed some of my D.I.Y. Mac setting spray

Tah da!!!! The fierce Roni!!!


Have a great one my lovies!!
xoxo, Beautylash01

Friday, June 14, 2013

Review: Nichido Multiple Stick

Hello my Lovies!

I am back wit another affordable make up review. Numerous Youtube Beauty gurus have been raving about this product and so I want to see and test it for myself. Last Wednesday, I managed to go to Watson's and visited Nichido counter. The beauty representative told me that this multiple stick is actually on 50% discount. Hmmm... Good deal! The real price of this baby costs at Php 188, I got mine for only Pp 94.

I got the shade Sunset Glow, it is a coral peach shade and as matte finish. The size of the product may be a bit expensive if you will be paying in full amount. Another shade is South Beach-- rosy pink color and has a gold shimmer in it. That shade somehow reminded me of ELF Blushes. Nichido claims that it is a multiple stick, you can use it a blush, eyeshadow and liptint. Well for me, this is only good as a blush.


Sharing with you my swatch of Sunset Glow in my hand:


Yes, it is pigmented and easy to blend so a little goes a long way. However, I have noticed, you need to set it with a translucent powder or pressed powder because if not, this may tend to be a big source of oiliness in your face.

When applied and blended:


PRO's:
  • very pigmented
  • affordable
  • easy to blend
  • does not have any funky smell
  • a bit dewy so it is not that dry
CON's:
  • very limited shade they only have 2 shades.
  • always set with powder as this may be oily 


Generally speaking, I still recommend this product. May you find this review helpful and have a great weekend my lovies!!
xoxo, Beautylash01

Sunday, May 12, 2013

Fresh Everyday look using Urban Decay Naked Palette 2

Hello Lovies!

I hope you all had a fantastic weekend. I am looking forward in sharing with you my latest go-to make up everyday. I have been loving my Urban Decay Naked Palette 2 because of the array of neutral colors that you can play around-- from office look to party look.

I am glad to show you guys my step by step eye make up look:

Make up and tools needed:

Urban Decay Naked Palette 2, ELF Translucent Powder, ELF  blush, Carmex, San San concealer, Nichido Foundation, Urban Decay Primer potion, Ever Bilena Mascara, Shu Uemura Curlur, Face Shop Eyebrow pencil, Shadow brush and Tapered Brush

1. Do your foundation and concealing routine. (you may check my previous blog on my concealing routine).

2. Go ahead and and shape your brows. (you may check my previous blog on how I do my eyebrows).

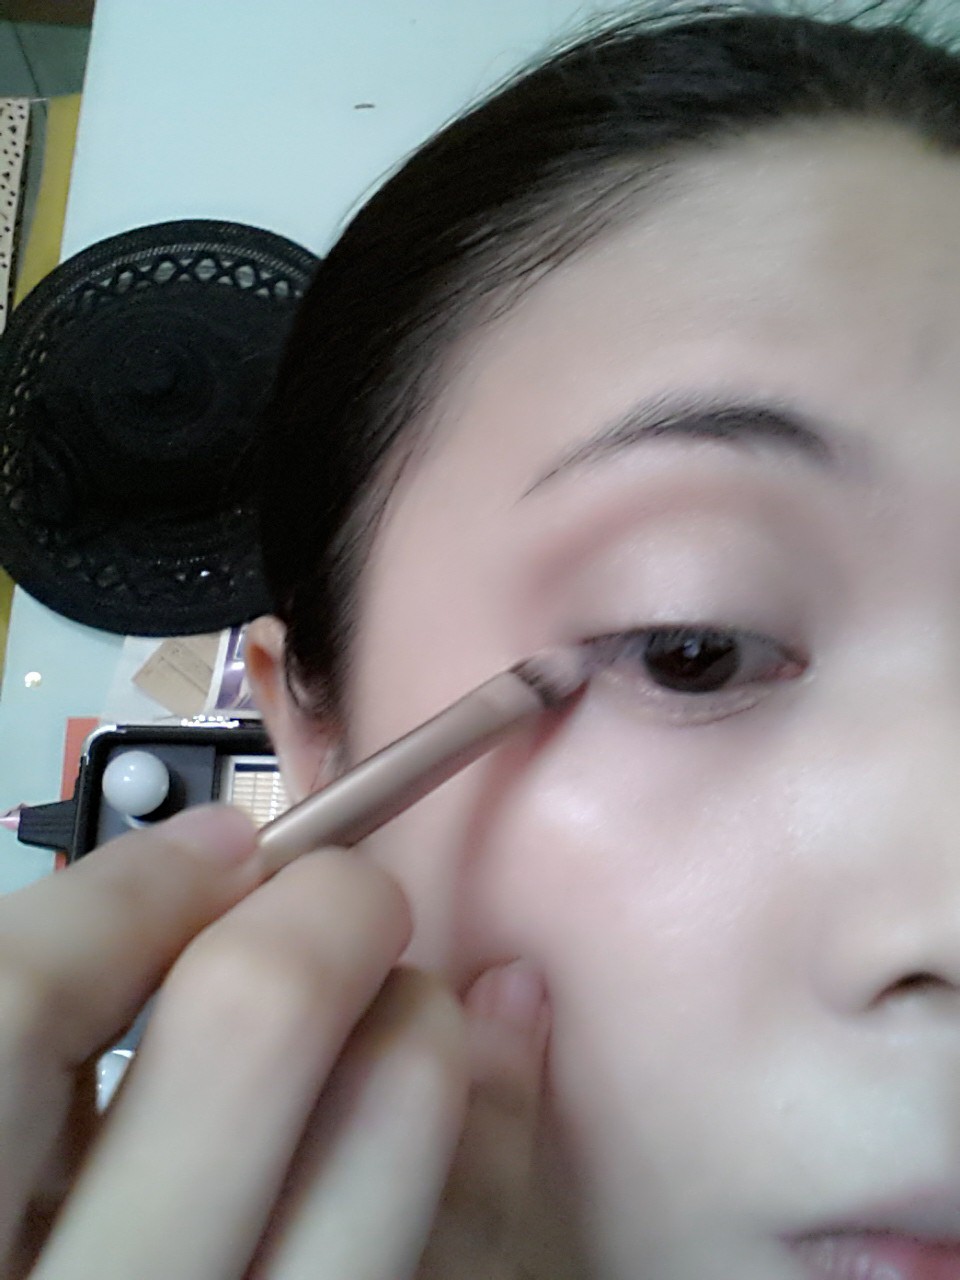
3. Prime your eyes using your eye primer. Gently pat it in and blend.


4. Once blended, gently pat in Bootycall all over the eyelids.


5. Using a tapered brush, pat some Tease on your crease. and gently blend it in a wind shield motion.


6. To define your eyes and create an illusion of fuller eyes, gently pat in Suspect at the outer V of your eyes. Remember, blending is the key for a gradient effect.


7. To fully open the eyes as well as to balance your eye make up, gently pat in your outer lower lash line using Suspect.


8. Highlight the inner corner of the eyes, using Half-baked.


9. Highlight your eyebrows using Foxy.


10. Apply a very thin line of liquid eyeliner or any liner of your choice.
11. Curl your lashes and apply mascara.

Here is the finish look of your Everyday make up using Naked Palette 2. This look is also good for office make-up.


I hope this simple eye make up tutorial would be very helpful for all your Lovies out there. You may go substitute this look using same shade of the eyeshadows I have used. Remember, blending is the key!

xoxo, Beautylash01


Thursday, May 2, 2013

Tutorial: All about Eyebrows

Hello Friends! I am back again for another tutorial and we will focus on our EYEBROWS. Sometimes, we take for granted this routine in our makeup; either we are in a hurry or perhaps we are clueless how to do it.

Let us keep in mind that eyebrows are only sisters and they are not identical twins. It is most likely that 1 of your brow is much more tamed than the other. Eyebrows create our face frame. If your brows are well groomed it will make a very big difference.

There are different tools where we can transform your brows from owww to wow!  In shaping your brows you have to consider your face shape. Below are the suggested shape of brows as determined by your face shape:

1. Oval shape: slightly arched brows or soft angled shape
2. Heart shape: slightly curved brows. Curves will create a beautiful heart shape using the point of your chin as the heart bottom and the brows as the top of the heart. 
3. Long shape: slightly flat with arched at end of the brows, this will create an illusion of a shorter face.
4. Round shape: high arched brows, this will create an illusion of a longer face.
5. Square shape: Balance this strong feature by a strong brow softwith curves.
6. Diamond shape: strong curves and arched brows will make the widest part of the face less wide. curves will soften the look.

Eyebrow color: 

We should keep in mind the color of our brows should compliment and match our hair. This is a MUST!  If your hair color is:

Blond: use ash blond of light gray pencil or shadow
Light brown: medium to light brown pencil or shadow
Red: ash blond or caramel pencil or shadow
Brunette: mahogany or warm brown pencil or shadow
Black : dark brown or dark gray pencil or shadow

Now let me share with you how I groom and do my brows.
Tools needed:


1. Spoolie or an improvised clean mascara wand
2. Angled eyebrow brush, I got mine from Suesh
3. Flat shadow brush
4. Tweezers
5. Small scissors
6. Brow blade

Make up products needed:
(May depend on your preference)


1. Benefit eyebrow wax
2. NYx jumbo pencil in dark brown (I just deported mine since I do not have a sharpener to fit this size ;) )
3. Faceshop eyebrow pencils in brown
4. Nichido pencil concealer in Beige to clean the edges and highlights too.

Here it goes:
1. Using your spoolie, gently brush your brows to define its natural shape.


2. Noticing I have some long brows, I usually groom it at times. (this step is optional).


3. Using your angled brush, create an illusion or your desired shape. (Consider your face shape on this). I either use an eyebrow wax or my depot-ted NYX Jumbo pencil in Dark Brown. The consistency of both product (wax or cream-based) makes the shaping easier.


4. Outline your brows top portion first then followed by lower portion. Outlined brows should look like this:


5. Fill in your brows. You may use eyebrow pencil or a matte brown eyeshadow.

** This is optional, after filling in your brows, you may go ahead and tint it with Eyebrow tint. A good choice if you are on a budget, try Etude House Color my brows, OR if you have the budget, MAC's girlboy is a good choice too.

6. Blend the shadow or pencil to soften the look.


7. Once blended, outline and clean the harsh edges by applying a pencil concealer or any concealer. This step will highlight the brows and will elaborate the shape.


8. Final step, is to check your brows. Checking your brows need some Geometry.. :) This picture will be very helpful. Using your nose as your focal point.


Sharing some photos of the finished look. :)


I hope you would find these information relevant. :) Thank you Lovelies and have a gorgeous day ahead!
xoxo, Beautylash01