Showing posts with label San san. Show all posts

Sunday, August 3, 2014

Product Review : San San Soleil Foundation

Hello Beauties!

It has been a while since I have blogged. I am always in search for a good foundation without damaging my budget.

I came across this San San Soleil Foundation. I have been hearing a lot of positive reviews about this product. As always I am sharing with you my thoughts and experience with this baby.

This is how it looks like:


What I love about the product:

- comes with a pump so you can control the amount of product needed
- has full coverage, i skipped my correct concealing step in my routine
- consistency is thick, closely similar to a BB Cream
- a little goes a long way
- easy to blend (you may use beauty blender, stippling brush or clean hands)
- longevity : lasted for at least 10 hours for me.

What I dont like:

- only has 1 shade, so result may vary on your skin complexion
- limited stock only.
- may tend to be oily. I suggest use a good primer and setting powder. 

Other than that, I like this product. For only Php 149.75 I get good coverage.


Till then Beauties!

Love,
April


Sunday, May 12, 2013

Fresh Everyday look using Urban Decay Naked Palette 2

Hello Lovies!

I hope you all had a fantastic weekend. I am looking forward in sharing with you my latest go-to make up everyday. I have been loving my Urban Decay Naked Palette 2 because of the array of neutral colors that you can play around-- from office look to party look.

I am glad to show you guys my step by step eye make up look:

Make up and tools needed:

Urban Decay Naked Palette 2, ELF Translucent Powder, ELF  blush, Carmex, San San concealer, Nichido Foundation, Urban Decay Primer potion, Ever Bilena Mascara, Shu Uemura Curlur, Face Shop Eyebrow pencil, Shadow brush and Tapered Brush

1. Do your foundation and concealing routine. (you may check my previous blog on my concealing routine).

2. Go ahead and and shape your brows. (you may check my previous blog on how I do my eyebrows).

3. Prime your eyes using your eye primer. Gently pat it in and blend.


4. Once blended, gently pat in Bootycall all over the eyelids.


5. Using a tapered brush, pat some Tease on your crease. and gently blend it in a wind shield motion.


6. To define your eyes and create an illusion of fuller eyes, gently pat in Suspect at the outer V of your eyes. Remember, blending is the key for a gradient effect.


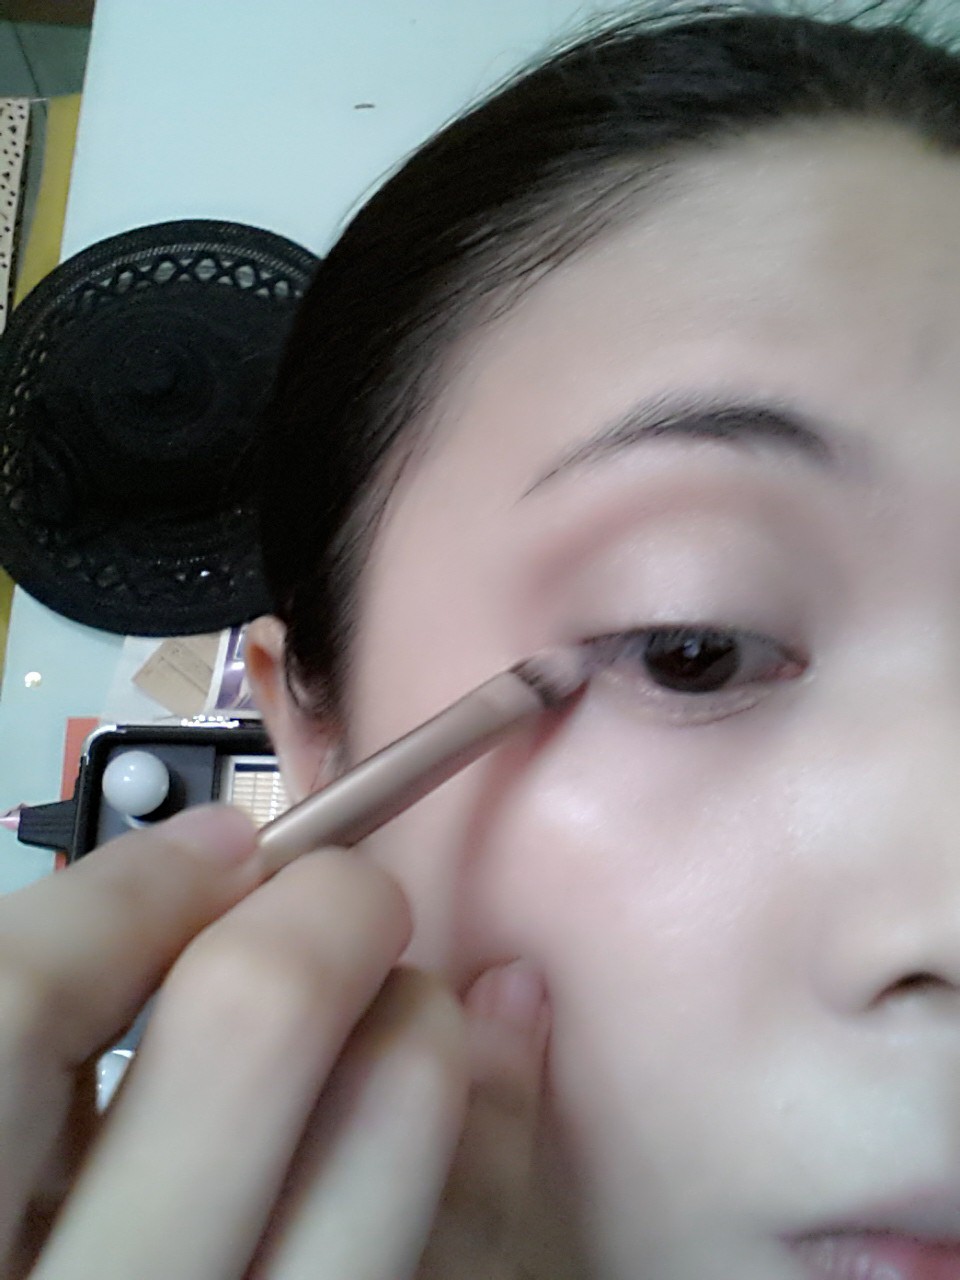
7. To fully open the eyes as well as to balance your eye make up, gently pat in your outer lower lash line using Suspect.


8. Highlight the inner corner of the eyes, using Half-baked.


9. Highlight your eyebrows using Foxy.


10. Apply a very thin line of liquid eyeliner or any liner of your choice.
11. Curl your lashes and apply mascara.

Here is the finish look of your Everyday make up using Naked Palette 2. This look is also good for office make-up.


I hope this simple eye make up tutorial would be very helpful for all your Lovies out there. You may go substitute this look using same shade of the eyeshadows I have used. Remember, blending is the key!

xoxo, Beautylash01


Sunday, April 28, 2013

How I conceal my dark circles

Many gorgeous Ladies have been asking me how I cover dark under eye circles. I am excited to share with you my routine everyday. Looking fresh doe not have to be vey costly I use drugstore products so its affordable.

Products needed:
ELF Mattifying powder in Translucent
ELF single yellow corrector
San San concealer in Natural
Ever Bilena concealer pencil in Beige
Tools needed:
Triangle sponge
Flat fluffy brush

Please excuse my bare face.. It is truly evident that I have a serious problem with dark under eye circles and puffy eye bags.

Steps in concealing those dark babies..
1. Make sure your hands and face are clean. Go ahead and apply your favorite moisturizer and foundation. Remember less is more!
2. Apply your yellow corrector under your eyes and cover those dark babies.
TIP: I apply and create an inverted triangle shape, it covers and it highlights too.
Gently blend the corrector using your slightly damp sponge. Blend, blend and blend.
3. Pat in your favorite concealer that is one shade light that your skin tone. Again, blending is the key.
4. Dust some powder to lock in the products.

Following those steps, here is the finish look. Goodbye dark circles! :P